
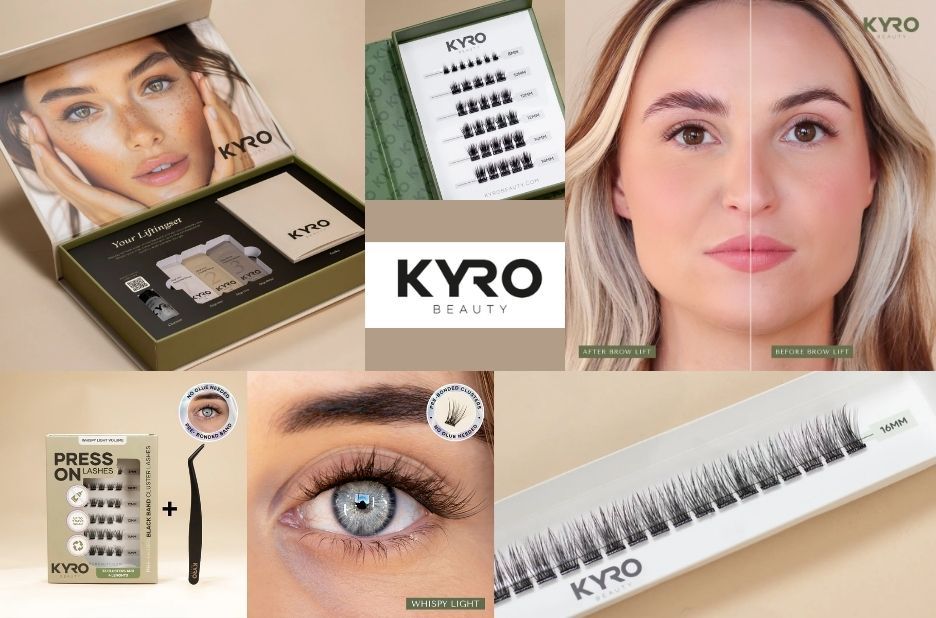
What the Wimperlifting Process Does and What to Expect
During the process, a gentle solution changes the lash structure, then a neutralizer helps set the shape. The wimperlifting result is a lifted curl that can make your eyes look brighter and more defined. Many people also notice their lashes look more uniform from root to tip, which improves everyday mascara application.
Before you start, it helps to know how the transformation timeline usually behaves. You’ll see the most noticeable lift soon after treatment, while the curl gradually settles as lashes finish drying and setting. If your lashes are naturally straight, the change may look more dramatic, while already-curled lashes tend to look smoother and more consistent. Planning for a careful routine—rather than rushing—usually leads to the most even curl. With good prep and correct timing, the look is both practical for daily wear and polished enough for events.
Step-by-Step Prep: Clean Lashes, Choose Pads, Work Carefully
Preparation determines the difference between an even lift and a patchy result. Start by cleansing your lash line to remove oils, creams, or makeup residue that can block adhesion. Use a gentle, oil-free cleanser and ensure lashes are fully dry before applying anything. If lashes are damp, solutions can spread unevenly and cause inconsistent curl. After cleansing, brush lashes into a natural position so they lie neatly toward the pad.
Next, select the correct lash pad size and position it comfortably near your eyelid crease. The pad should support the lash from the root without pressing too close to the waterline. Apply a thin layer of lash adhesive to the pad and wait briefly if the product instructions advise it. Then lift lashes onto the pad using a clean applicator, separating lashes so they don’t overlap. Overlap is a common reason for uneven curling, so take time to arrange each lash strand in the correct direction.
Application Tips for Clean Results and Avoiding Common Mistakes
When applying lifting solutions, use precise amounts and control placement along the lash length. A small quantity placed carefully is safer than overloading the brush or letting solution touch the skin. Keep the solution off the lash roots that are too close to the lid to reduce irritation risk. If any solution migrates, stop and correct immediately rather than continuing. Following the recommended dwell time from your kit helps prevent over-processing, which can lead to brittle lashes.
Neutralization is just as important for stability and longevity. After the lift stage, apply the neutralizer as directed, ensuring it covers the lifted lash area evenly. Avoid rubbing the lashes during the setting process because friction can disturb the curl. Once you remove the pads, handle lashes gently and allow them to dry completely before applying mascara. If you’re new to at-home lash shaping, practice with careful movements and consider doing a patch test if your skin is sensitive. Consistency in technique often matters more than speed.
Conclusion
When you set your lashes properly on the pad and apply solutions with restraint, you reduce the risk of uneven lift and irritation. For best results, follow the kit instructions closely and avoid rushing any step, especially during arrangement and setting. If you want a reliable, simple at-home approach designed for lift and elegance, KYRO Beauty offers a DIY lash lifting kit that supports salon-like transformations. With the right tools and a calm, methodical process, you can enjoy a lifted lash appearance that enhances your natural eye shape. KYRO Beauty products are created to help you achieve a smooth curl look while keeping your routine manageable. For more information on the kit and how to use it, visit kyrobeauty.com to explore the options that fit your style and lash needs.
